
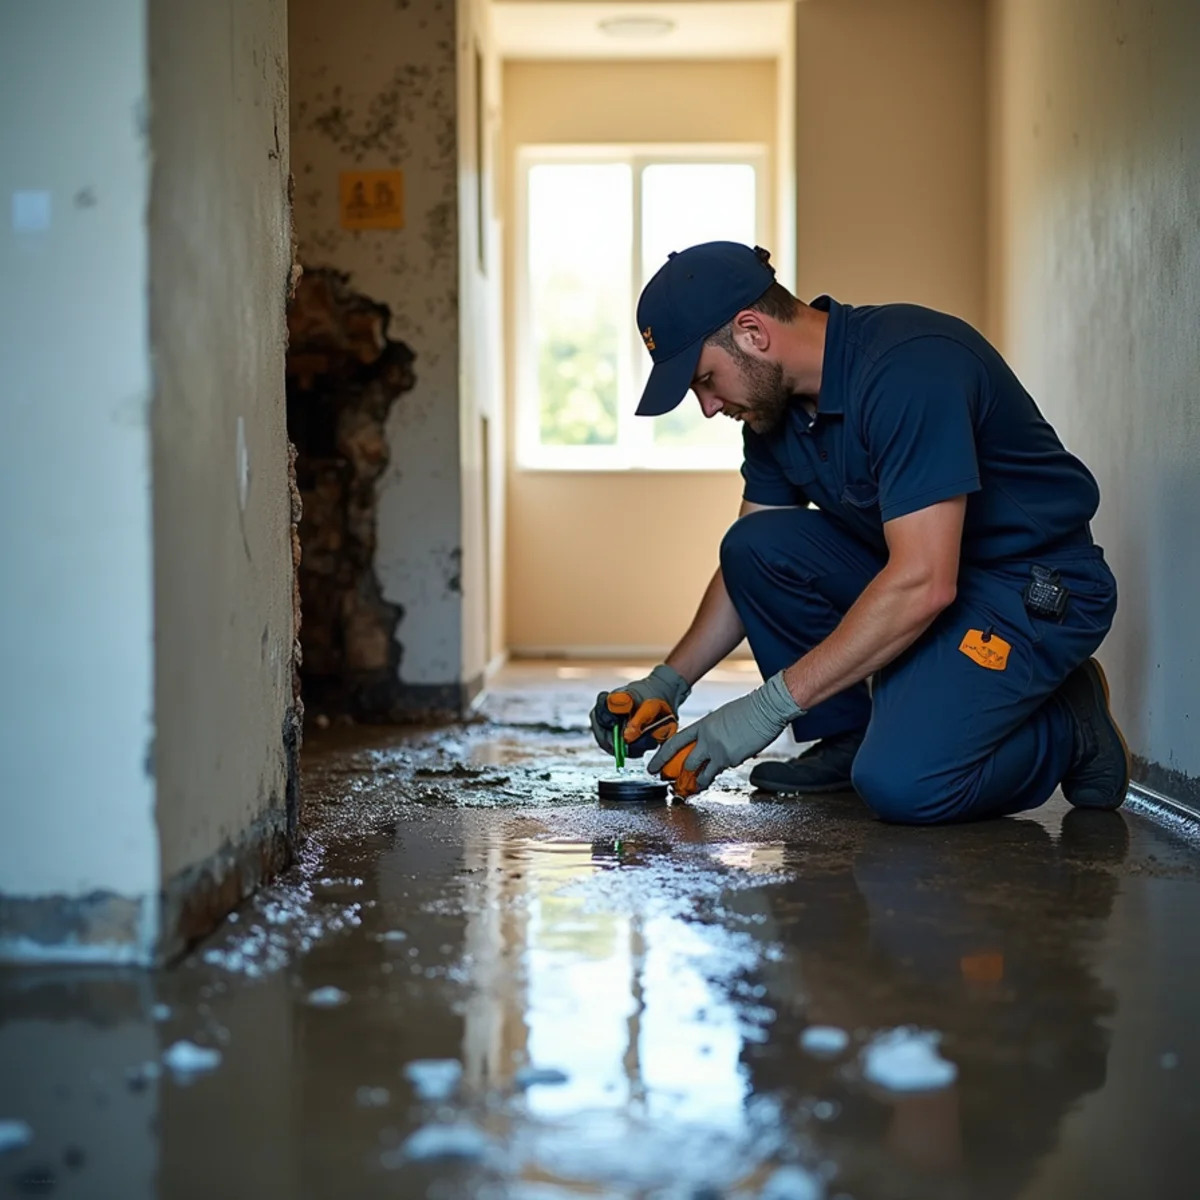
Good documentation does not guarantee coverage or payment. It does reduce avoidable confusion about the source, affected areas, emergency work, and why material or equipment decisions were made. Use the sequence below to separate immediate safety and mitigation from source repair, documentation, and later reconstruction.
Create a source-to-damage photo sequence
Start with wide room photos, then move closer to the source, water path, and affected finishes. Include adjoining rooms and the level below.
Add a simple spoken video describing when you discovered the loss and what is visible. Do not enter unsafe or contaminated areas for a better angle.
Build a one-page event timeline
Record discovery time, shutoff time, emergency calls, vendor arrival, insurer notification, and source repair. Add names, phone numbers, and claim identifiers.
A timeline is especially useful when a leak occurred while the property was vacant or several tenants and trades were involved.
Keep mitigation records organized
Save moisture maps, initial readings, equipment logs, photos of removed material, disposal records, and the final drying information. Ask that estimates distinguish emergency mitigation from repair.
If the scope changes after opening a cavity, document what was found and why the decision changed.
Track contents and communication
Photograph affected contents in place before moving them when safe. Create a list with item, room, condition, and disposition.
After phone calls, write a short summary of what was requested or decided. Ask the carrier to provide coverage decisions and document requests in writing.
- Photos
- Timeline
- Moisture records
- Contents list
- Call log
Expert insight: turn observations into defensible decisions
Observation is not the same as diagnosis
The first clues in “Create a source-to-damage photo sequence” and “Build a one-page event timeline” help set priorities, but a stain, odor, warm floor, pooled area, or policy label does not prove the complete cause or affected boundary. Confirm the source with the appropriate trade and compare visible conditions with the paths water could take through the actual assembly.
Use a scope checkpoint before work expands
Before opening a finish or changing the equipment plan, ask what new evidence supports the decision. The answer may be contamination, delamination, a trapped cavity, a material that is not drying, or access required for source repair. Record that trigger so the owner, repair trade, and insurer can understand why the scope changed.
The honest tradeoff is speed versus unnecessary disruption
Delay can allow water to spread, yet speed does not justify broad demolition or a universal equipment package. The professional balance is fast safety and source action followed by targeted extraction, access, cleaning, and monitored drying. That approach protects salvageable materials without closing wet or contaminated assemblies behind new finishes.
Decision table: match the condition to the next call
| Condition | Practical next action | Why it matters |
|---|---|---|
| Electrical, structural, fire, or sewage hazard | Keep people out and contact the qualified emergency authority or trade. | Property protection never comes before life safety or controlled access. |
| Plumbing, appliance, roof, drainage, or sewer source is active | Stop it only when safe, then assign source repair to the appropriate trade. | Mitigation cannot succeed while the cause continues to add water. |
| Surface looks dry but porous or concealed material was affected | Map the moisture path and set a material-specific drying or removal plan. | Appearance alone cannot verify subfloor, cabinet, insulation, or cavity conditions. |
| An insurance claim may be opened | Protect the property, notify the carrier, and keep a source-to-closeout record. | Clear facts reduce avoidable disputes, while coverage remains the insurer's decision. |
Related services
Use these service pages for the restoration process, estimate factors, and decisions connected to this guide.
Local area guides
These pages connect the advice to San Carlos housing and neighborhood conditions without changing the safety principles.
Frequently asked questions
Should I throw away wet items immediately?
Document them first and ask the carrier what it expects. Contaminated or unsafe items may need prompt handling, but the condition and disposition should still be recorded.
Do photos prove coverage?
No. Photos support the factual record; coverage is determined under the policy.
What is the biggest mistake to avoid when following this how to document water damage for a faster insurance review guide?
Do not start aggressive cleanup, demolition, or equipment use before checking electrical, structural, and contamination hazards and controlling the source when it is safe. Record the initial condition first, then make each scope decision from observed material condition and moisture evidence.
What should I document before the next restoration step?
Keep wide and close photos, the discovery and shutoff timeline, source-repair records, affected-room notes, moisture readings, equipment or drying logs, scope changes, contents records, receipts, and insurer communications. Documentation supports clarity but never guarantees coverage.
Conclusion: make the next decision evidence-led
The practical answer behind “How to Document Water Damage for a Faster Insurance Review” is to work in order: protect people, control the source, document the starting condition, define the affected boundary, remove water or contamination, verify drying, and only then plan finished repairs. That order keeps an urgent loss from becoming an unstructured sequence of overlapping promises.
If the event is small, clean, and completely accessible, safe owner action may be enough. If water is moving through building materials, involves sewage or electricity, threatens a ceiling or floor, or cannot be traced confidently, step back and request a property-specific inspection. Ask every provider to explain the evidence, scope trigger, trade boundary, estimate assumption, and closeout record.